
Protecting sensitive data with data masking
Warning
Data masking is in beta and available on request. To get early access for your organization, contact customer support at support@atomicwork.com.
Employees share more than they should. Someone pastes their bank account number into Ask Atom to chase a late reimbursement, or a request description carries a patient’s diagnosis. Data masking replaces values like these with tokens before they’re saved, so they don’t sit in plain text in your conversations and requests. You choose exactly which types of data to mask.
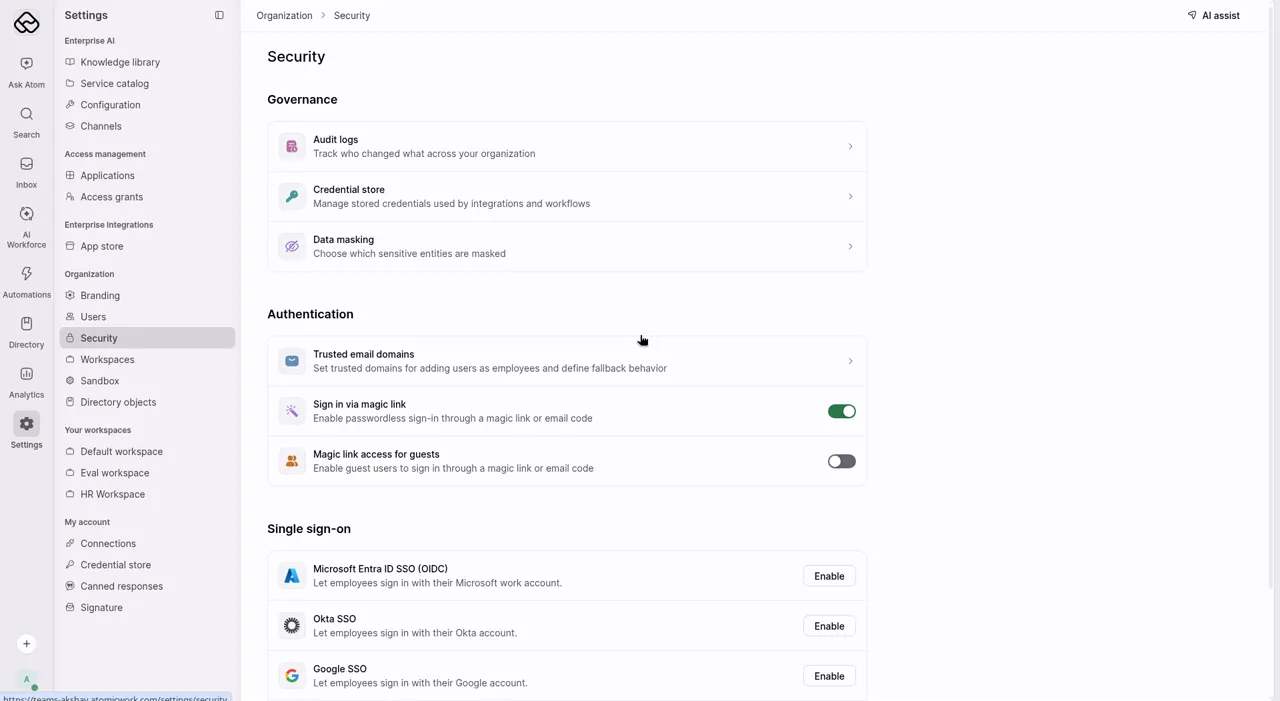
To access data masking, go to Settings > Organization > Security > Data masking (Governance).
What data masking covers
Where masking applies
During the beta, customer support turns on each area separately, so ask them which areas are on for your organization. Data masking can cover:
- Ask Atom conversations: Masking covers the messages employees send to Atom, plus the conversation subject and summary. This includes conversations with Atom in Microsoft Teams. Conversations with Atom in Slack are masked in the Atomicwork portal.
- Requests: Masking covers the request subject, description, notes and approval comments.
Because masking happens before a request is saved, notifications about that request show the masked value too, including the notifications Atomicwork sends into Slack.
Types of data you can mask
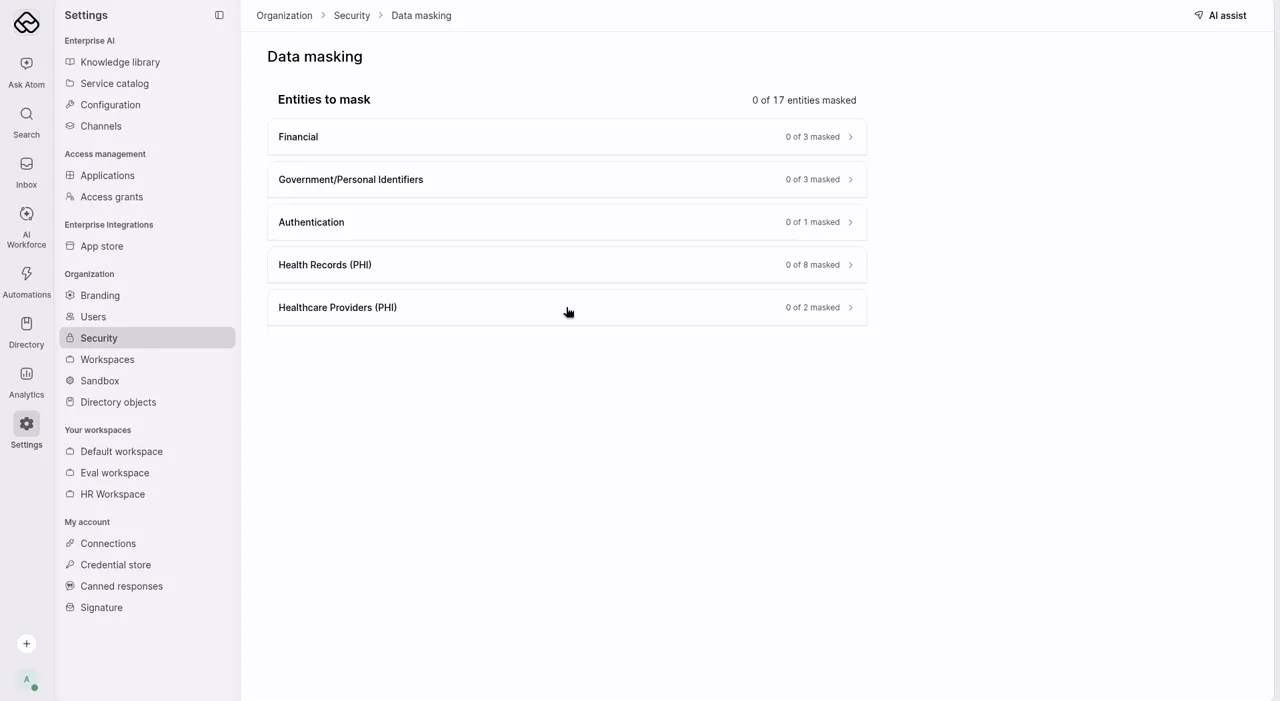
You can mask 17 types of data, organized in five groups. Each type has its own toggle, so a healthcare organization can mask health records without masking anything else.
How data masking works
When an employee sends a message or saves a request, Atomicwork checks the text for the types of data you’ve turned on. Each value it finds is replaced with a token that names the type, such as [BANK_ACCOUNT_Zq9atfZ] or [SSN_JsCXFd1]. The token is what gets saved, and it’s what Atom and AI Coworkers work with.
For example, an employee asks Atom about a reimbursement that hasn’t arrived and includes their bank account and phone number. Atom files the request for Finance as usual, but the conversation and the request show [BANK_ACCOUNT_Zq9atfZ] and [PHONE_NUMBER_TIJt0YV] instead of the real values.
Only the types you turn on are masked. In the same message, details such as a bank’s IFSC code or an employee ID stay as they are.
Masking applies only to data saved after you turn a type on. Conversations and requests saved before that stay as they were and aren’t masked.
Choose what to mask
Every type starts turned off, so nothing is masked until you turn at least one on. Your choices apply to your whole organization, across all workspaces.
Before you begin
- Early access: Customer support has turned on data masking for your organization. Until then, the Data masking page doesn’t appear under Security.
Turn on masking for a type of data
-
Go to Settings > Organization > Security > Data masking (Governance).
-
Under Entities to mask, turn on the toggle for each type you want to mask.
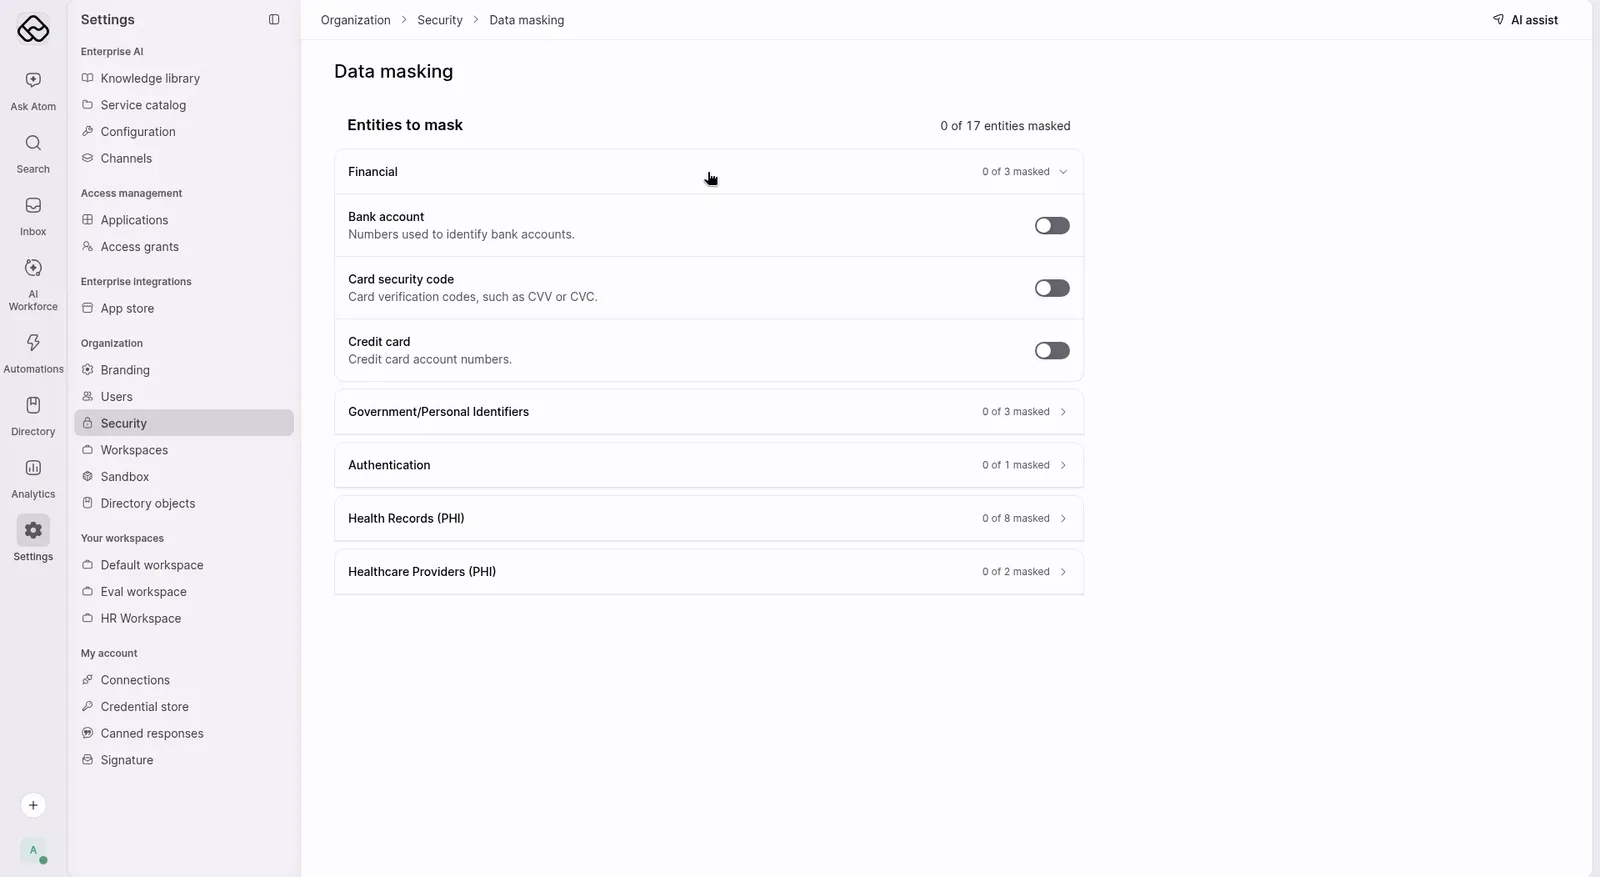
Each change saves as soon as you make it. To stop masking a type, turn its toggle off.